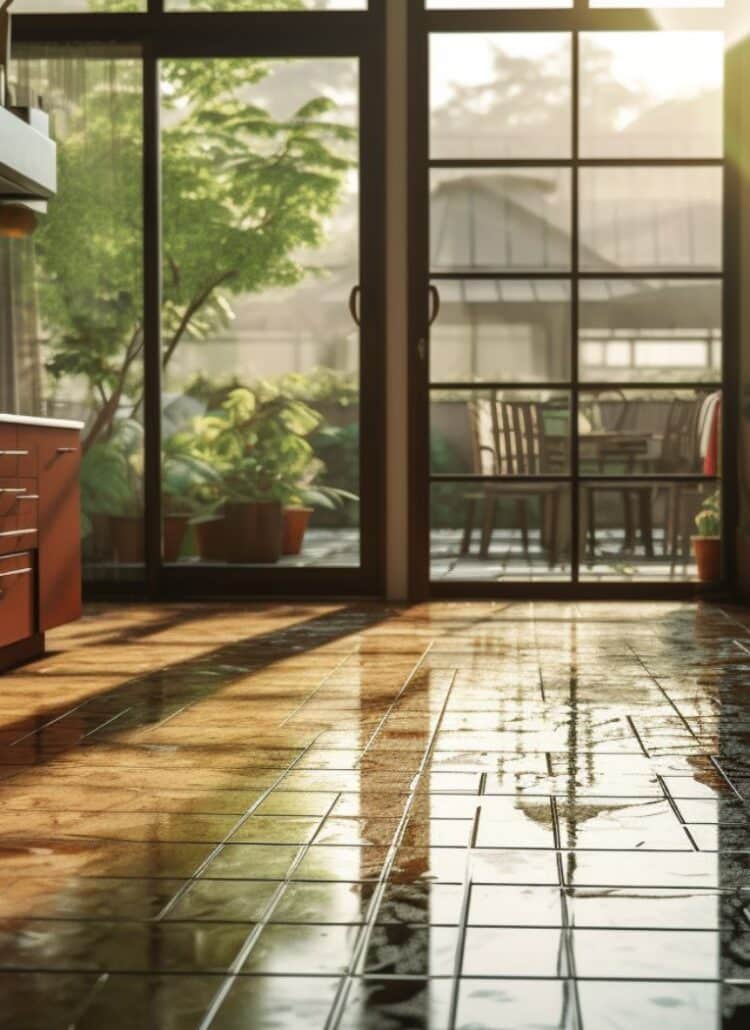
Have you ever spent your time mopping your dirty floor, only to find them sticky and unclean after you’re done?
It’s frustrating, isn’t it?
I totally get it. You’ve put in the effort to make your home sparkle, and instead, you’re left with a floor that seems to cling to every sole that walks over it.
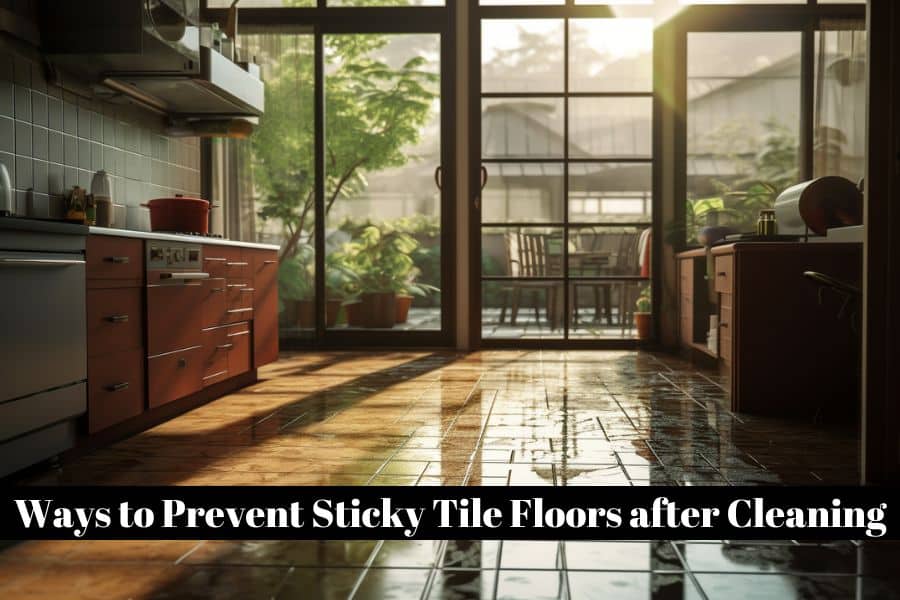
But don’t worry, In this article “Easy Ways to Prevent Sticky Tile Floors After Cleaning”, I will cover everything you need to know to tackle this sticky situation.
Understanding the right cleaning techniques is important because the wrong ones can leave a sticky residue on your tile floors.
This defeats the purpose of cleaning them in the first place.
By the end of our little chat, you’ll be equipped with the know-how to make sure your tiles remain spotless and residue-free.
So, let’s dive into the nitty-gritty of getting those tiles to shine without the stickiness.
Important: On this website, I feature a select number of partners and companies that have products that could help my audience. As an Amazon associate, When you purchase something through my partner links, I might get paid for the referral at no extra cost to you. Read the full disclosure here.
This post is about Easy Ways to Prevent Sticky Tile Floors After Cleaning.
JUMP TO :
Why does the floor get sticky after mopping ?
Choosing the right cleaning tools and products
Preparing the floor correctly before starting
The right way to clean – Step-by-step process
Maintenance Tips for Tile Floors
Handling Sticky Spots and Stains
Dealing with High Traffic Areas
Advanced Tips for Stubborn Residue
The Dos and Don’ts of Tile Cleaning
Troubleshooting After-Cleaning Residues
Special Considerations for Different Floor Types
Seasonal and Long-term Tile Care
Why does the floor get sticky after mopping ?
Here are the causes of sticky floors:
Wrong Cleaning Solution
You know when you grab that bottle of cleaner off the shelf, thinking it’ll make your floors look like new?
Well, sometimes, that’s our first misstep.
Some cleaning products are like those sticky hands we used to get from the vending machines as kids—they leave a little something behind.
If it’s too strong or just not right for your type of tile, it leaves a layer that makes your floor feel like flypaper.
Dirty Mop
Now, let’s talk about that mop.
If it’s been through a lot and seen better days, it could be the culprit.
Not using completely clean mop is the one of the most common reason for sticky floors.
Mopping with a dirty mop is like trying to clean your hands with a greasy rag—it just spreads the mess around.
And nobody wants that.
Soapy Residue
Lastly, let’s not forget about rinsing.
Imagine washing your hair and not rinsing out all the shampoo.
It’s going to dry sticky, right?
Same goes for your floor.
If we don’t get all that soapy water up, it dries into a sticky layer.
Just because the water’s gone doesn’t mean the soap is.
Environmental Factors
And hey, let’s not ignore the environment.
Sometimes it’s just plain old humidity making things feel tacky, or maybe something got spilled earlier and we didn’t notice.
Ways to prevent sticky floors
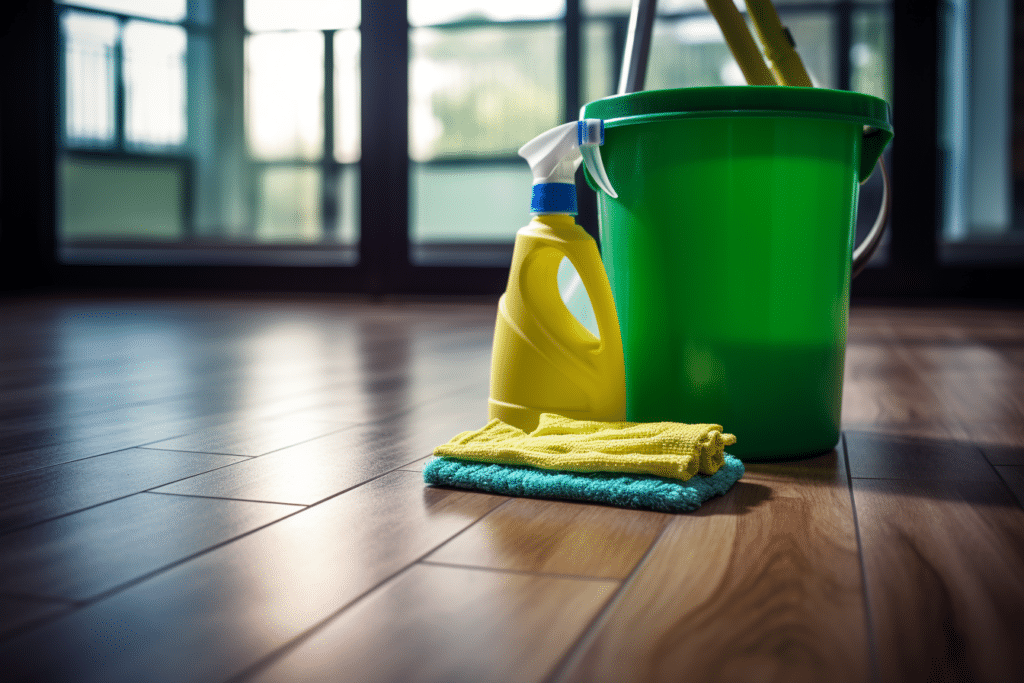
Choosing the right cleaning tools and products:
Picking Your Tools

Alright, let’s get ready to tackle those floors.
First off, we’ve got to choose our gear wisely.
Using the wrong stuff is one of the big reasons for those pesky sticky floors.
You don’t want to end up with that icky soapy residue, right?
So, grab a microfiber mop.
The
Plus, they’re awesome at picking up all that dirt and grime without leaving anything behind.
The Cleaning Mix
Now, about that cleaning solution—let’s not just grab any old thing under the sink.
The wrong cleaning solution can be a big no-no.
It can leave your floors more like a sticky mess than the sparkling palace you’re aiming for.
We need something that’s just right for your tiles.
Choosing the Best Cleaning Product
Why pH-Neutral Cleaners Rock
Alright, let’s talk cleaners.
You want the best for your floors, don’t you?
pH-neutral cleaners are your friends here.
They’re like the Goldilocks of cleaning products—not too harsh, not too mild, just right.
They won’t mess with your floors or leave that sticky residue we all hate.
Harsh Chemicals? No, Thanks!
Harsh chemicals might seem like they’d do the trick, but they can be bullies, picking on your floors and leaving them damaged and sticky.
It’s like using a sledgehammer to crack a nut—too much for what you need.

The Natural Way
Now, what about those natural cleaning solutions?
They’re like a homemade meal versus fast food.
Sure, chemical cleaners might be quick and easy, but natural ones—like a mix of vinegar and water—can get the job done without the drama.
Soap-Based Cleaner Drama
And soap-based cleaners?
They might leave you in a sticky situation, literally.
If you use too much, or it’s not the right cleaner for your type of floor, you’ll end up with a film that’s a magnet for dirt.
Finding the Right Cleaner
So how do you pick the right cleaner?
It’s like matching your shoes to your outfit—it’s got to be just the right one for the occasion.
Make sure it’s suited for your floor type, and you’ll be stepping onto a clean, non-sticky floor in no time.
Preparing the floor correctly before starting
Clear the Stage
Before we get to the wet work, we need to make sure the floor is ready for its bath.
If the floor’s dirty, and I mean like “last week’s party leftovers” dirty, mop’s going to just push that dirt around.
So, give it a good sweep or a quick pass with the vacuum.
Get all that loose dirt off the stage before the main act.
Fresh Mop, Fresh Floors
And hey, remember to start with a fresh mop head.
If it’s been used more times than your favorite pair of jeans, it’s time to switch it out.
You wouldn’t use a dirty towel to dry off after a shower, right? Same goes for your floor.
Clean Water is Key
Last thing before we dive in—clean water.
It’s like the difference between drinking from a mountain spring or a muddy puddle.
We’re going to use nice, clean water so we’re not just swirling dirt around.
I know its a bit of work but trust me the use of dirty water is one of the common reasons for sticky floors.
The right way to clean – Step-by-step process

Here’s the scoop on how to get those tiles so clean, they’ll practically sparkle.
Just like baking a cake, stick to the steps, and you’ll be all set.
Mix It Right:
Whip up your cleaning solution with hot water, as per the instructions.
Hot water is key—it’s like the sun to Superman, really gets those cleaning powers going.
Mop with Care:
Grab that
You want it damp, not soaking, to avoid a flood on your floor surface. Remember, too much water is a no-go.
Scrub Smart:
Start from the far end of the room and mop your way to freedom (the door).
That way, you won’t box yourself in.

Rinse Thoroughly:
After mopping, it’s time for a rinse.
Swap the suds for plain water and go over the area again with a damp mop.
Effective Rinsing and Drying Techniques
Rinse Right:
Post-scrub, fill your bucket with fresh hot water.
Rinse off all that soap by going over the floor with a damp mop—this step’s a biggie to dodge the sticky-floor fiasco.
Dry Properly:
Don’t just leave it to air dry.
Use a dry mop or a clean
Think of it as blotting your floor dry—no moisture, no mess, no stress.
Follow the Rules (Instructions)
Stick to the cleaner’s instructions like they’re the secret to treasure.
They’ll guide you on the dos and don’ts, ensuring you use the right amount of cleaner and water.
Rinsing Done Right
And remember, the rinse and dry game is just as important as the cleaning part.
Here is a good Video for Sticky Floors by Clean with Confidence
Maintenance Tips for Tile Floors
Keeping Your Tile Floors Spotless
Daily Dos for Clean Floors
You want to keep your floors looking like they’ve just been kissed by the mop, right?
Well, it’s all about that daily hustle.
Sweep It Up:
Every day, just like brushing your teeth, give your tiles a quick sweep.
This keeps the crumbs and dirt from building up.
Spot Clean:
Spill something? No sweat.
Grab a
These pads are like dirt magnets – they’ll keep things from getting sticky.
Weekly Deep Cleaning Rituals

Now, let’s talk about giving your floors some extra love once a week.
The Deep Clean:
This is like a spa day for your floors.
Get your mop and bucket, and go to town.
Use that cleaner that treats your tiles right and give them a thorough wash.
Mop Magic:
Make sure you use a clean mop and change the water when it looks dirty. It’s like rinsing out a dirty dishcloth – you don’t want to spread the gunk around.
Regular Maintenance:
Stay on top of things. If you see a dirty spot, don’t wait for cleaning day.
Keep those
This is the best way to reduce sticky surface.

Stick to the Routine
Keep at this cleaning routine, and your floors will stay as clean as a whistle.
Regular maintenance means less elbow grease later and more time kicking back with your feet up, admiring those gleaming tiles.
Handling Sticky Spots and stubborn Stains
Dealing with Sticky Spots
Got a spot on your floor that’s stickier than a piece of chewed gum ? We’ve all been there.
Here’s what you do:
Spot the Spot: First off, find that sticky stain.
Soak It: Take a wet cloth and let it sit on the sticky spot for a bit. It’s like soaking a pan after you’ve made a mean lasagna—the gunk comes off easier.
Scrub Time: After the soak, give it a gentle scrub. No need to go all Hulk on it; just a little elbow grease will do.

When It’s More Than Just a Spot
Now, if you’ve got a bigger sticky area to tackle:
Map It Out: Find all those sticky areas.
You might have more than one, like when you drop syrup and it splatters.
The Cleaning Mix: Whip up a cleaning solution that’s safe for your floors.
If you’re not sure, water’s your best bet—it’s gentle and doesn’t leave a sticky layer.
Mop It Up: Take your mop, dip it in your cleaning solution, and mop those sticky surfaces.
Remember to wring out your mop so it’s damp, not dripping.
GET MY FREE CHECKLIST : 10 THINGS YOU NEED TO KNOW BEFORE YOU STRAT YOUR KITCHEN REMODEL
Say Goodbye to Sticky Layers
Sometimes, you’ll deal with a sticky layer over a bigger area.
Don’t freak out; it’s not a monster. Just get your mop, your cleaner, and get to work.
Once you’ve mopped up the mess, go over it with a dry cloth to make sure you get rid of any leftover stickiness.
Dealing with High Traffic Areas
Kitchen Floor Chaos
The kitchen floor, it’s like a busy city street, right? Everyone’s always walking through, dropping stuff, making a mess. It’s what we call a high-traffic area.
The Common Mistake
Now, a common mistake is treating these busy spots the same as the rest of the floor. But think about it like this: you wouldn’t wash a muddy football jersey the same way you wash a light blouse, would you?
Effective Ways to Tackle It
More Mop, Less Mess:
In these high-traffic zones, you might need to mop more often.
It doesn’t mean you do the entire floor—just focus on the busy parts.
Targeted Cleaning:

When you see a spill or some dirt, don’t wait.
Clean it up quick before it gets all over the place.
Stronger Solutions:
Sometimes, you might need to use a stronger cleaning solution, but only in these areas.
It’s like using stain remover on just a stain, not the whole shirt.
Advanced Tips for Stubborn Residue
So, you’ve got a stain that just won’t quit, huh?
Dish Soap to the Rescue
You know that dish soap you use to cut through the grease on your plates?
Turns out, it’s also a champ at tackling tough spots on your floor.
Just a drop or two in a bucket of warm water can make a world of difference.
It’s like giving your floor its own bubble bath.
The Scrub-Down
Once you’ve got your soapy water ready, take a scrub brush to that stubborn area.
Think of it as brushing away the last crumbs of a really good cookie—put some muscle into it!
The Dos and Don’ts of Tile Cleaning

The Don’ts: Common Oopsies
Let’s start with the don’ts, ’cause we’ve all been there, making a mess when we’re trying to clean.
Don’t Overdo the Soap: Slathering your floor with too much cleaner? That’s a no-no. It’s like pouring the whole syrup bottle on your pancakes—too much, and it gets sticky.
Don’t Drown the Tiles: Dousing your tiles with water? That’s a biggie. Excess water just sits there and makes a gooey mess.
Don’t Stick with Old Tools: Using those old-school traditional mops can just push dirt around. It’s like trying to clean your car with a muddy rag.
The Dos: Best Practices
Now for the dos—the good stuff to keep your tiles tiptop.
Do Pick the Right Cleaning Agent: The right cleaning agent is like the right key for a lock. It just works without a fuss. Make sure it’s made for tiles.
Do Use Just Enough: When it comes to cleaner, less is more. Just like seasoning food, the right amount does the job.
Do Clean Smart: Use
Troubleshooting After-Cleaning Residues
When Your Floor Feels Like Flypaper
So, you’ve cleaned your floors, but now there’s this sticky feeling underfoot? It’s like walking on tape, right? Let’s fix that.
The Soapy Culprit
First off, that stickiness is probably a soapy residue.
It’s like when you don’t rinse the soap off your hands completely—they don’t feel clean, they feel slippery.
Wipe Away the Sticky Residue
Here’s what you can do about that sticky residue:
Rinse, Rinse, Rinse: Go over the floor with plain water.
No soap this time! It’s like rinsing off a dish to make sure it doesn’t feel icky.
Dry It Up: After you rinse, don’t just let it air dry. Take a dry mop or towel and wipe the floor until it feels dry to the touch.
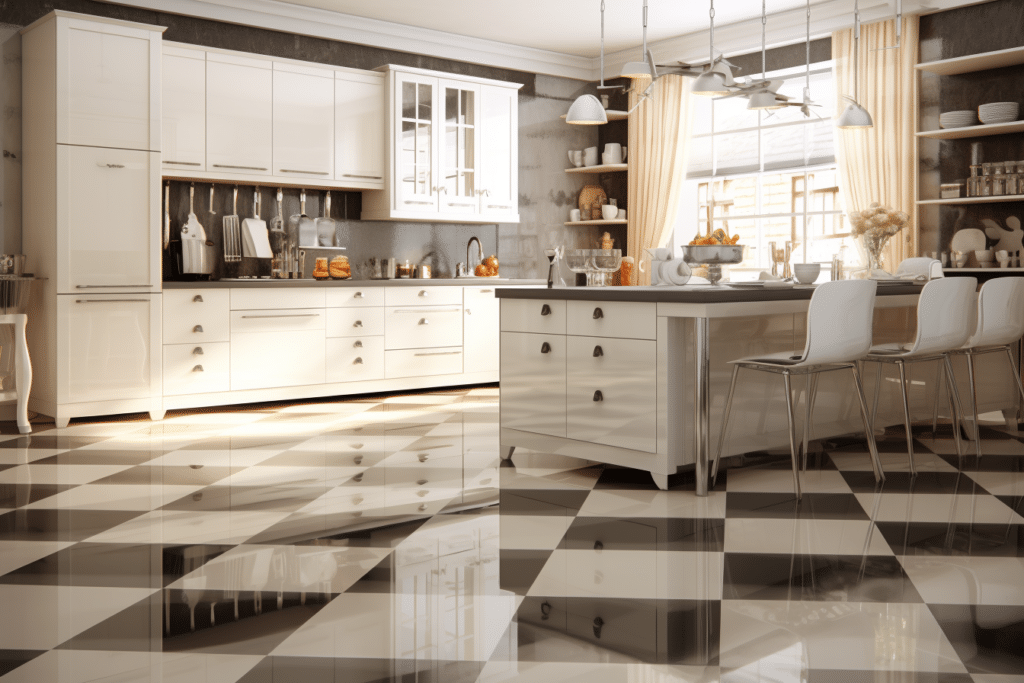
Special Considerations for Different Floor Types
Wooden Floors: Handle with Care
Got wooden floors? They’re like that fancy shirt you can’t just throw in the wash.
You gotta be gentle.
Don’t flood them with water, or they’ll warp and get all weird.
Use a cleaner that’s made just for hardwood floors, and always keep ’em dry.
Hardwood Floors: They Need Love Too
Hardwood floors are strong, but they need love.
They’re like a tough grandpa with a soft heart.
Use a soft mop and a cleaner that’s friendly to them.
And never let water sit on them—it’s like leaving grandpa in the rain!
Laminate Floors: No Soaking!
Laminate floors are like that water-hating cat.
They hate getting wet.
So, you wanna use a damp mop, not a wet one, and a cleaner that’s made for laminate.
Keep it quick and simple, no fuss.
Ceramic Tiles: Tough but Sensitive
Ceramic tiles are tough cookies, but they can still get upset with too much soap.
Use a mild cleaner, mop with a
Each flooring type has its own needs, just like people.
Treat ’em right, and they’ll look good for years to come.
Benefits of Steam Cleaning
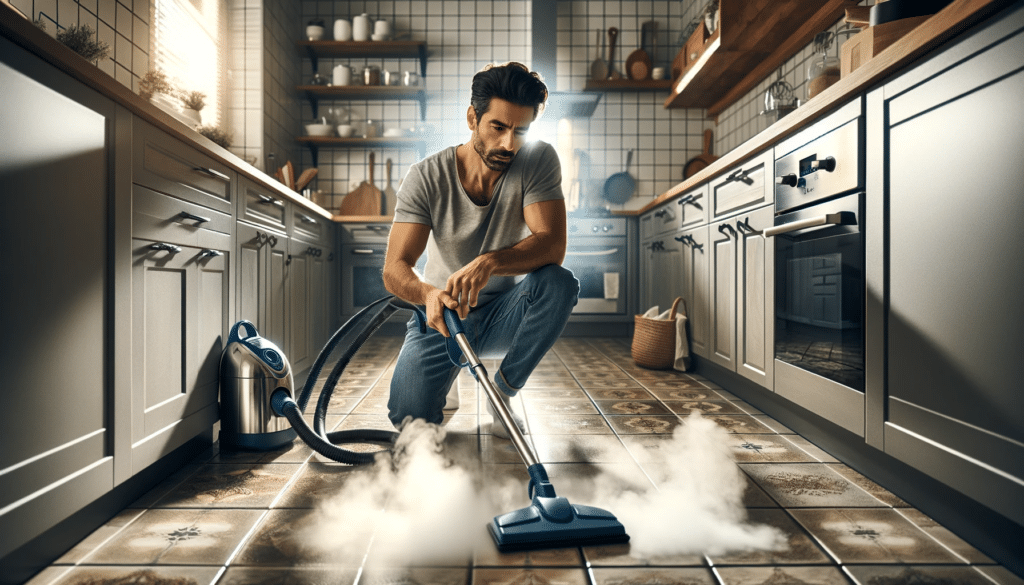
Crank Up the Heat
Steam mopping, it’s like giving your floor a spa day.
Those high temperatures from a steam mop?
They don’t just clean, they get right down into the nitty-gritty and help sanitize your floors, because that heat is tough on germs.
Steam Mop Pad Magic
When you slap a steam mop pad onto your mop, it’s like strapping a super-absorbent towel on there.
It picks up dirt and wipes away grime all at once. And because it’s steam, it dries faster than regular mopping, so you don’t have that “wet floor” sign out for long.
The Hot Benefits
Let me tell you, steam cleaning’s got some serious perks.
It can refresh your floors without the need for harsh chemicals.
Plus, the heat can help lift sticky stuff that’s been hanging around like an unwanted guest.
So yeah, steam cleaning?
It’s a game-changer for keeping your floors looking and feeling good.
Seasonal and Long-term Tile Care
Roll with the Seasons

You know how you switch up your clothes when the seasons change?
Same goes for your floors.
Seasonal changes bring different kinds of dirt and wear on your floors.
In winter, you’ve got that wet, snowy boot mess, and in summer, it’s dust and sand.
Long Time, Happy Tiles
For the long haul, your floors need proper maintenance.
It’s like taking care of a car. Regular check-ups keep it going strong.
Match the Method to the Type of Floor
Each type of floor, whether it’s ceramic, porcelain, or stone, has its own vibe.
Treat ’em right with the right cleaner and mop, and they’ll stick with you for the long time.
Keep Up to Keep Down Costs
Staying on top of the little things with seasonal cleaning can save you big bucks down the road.
No need for big repairs if you play it smart and clean with the seasons. It’s all about that proper maintenance.
FAQs
Can I use vinegar to clean all types of tile floors?
You might be considering a cup of white vinegar to clean your tile floors because it’s a popular choice, right?
Well, vinegar can be great for certain types of tile floors.
It’s often the recommended amount for a natural clean on ceramic and porcelain tiles because it cuts through grime and leaves a nice shine.
But, and this is a big but, not every floor type can handle vinegar.
If you’ve got natural stone tiles like marble or granite, vinegar is a no-go. It’s too acidic and can damage them over time.
Always check what’s recommended for your specific type of floor before going the vinegar route.
Is it safe to use steam mops on all floor types?
Steam cleaners are a fantastic tool for getting floors spick-and-span, but they’re not a one-size-fits-all solution.
If you’ve got hardwood flooring, using a steam mop might be risky business.
The intense heat and moisture can damage wood floors, causing warping or other issues.
The same goes for vinyl floors; the heat from a steam cleaner can sometimes mess up the glue holding your vinyl down, leading to peeling or warping.
The golden rule here? Check the manufacturer’s instructions for your specific flooring type.
They’ll tell you if your floors and steam mops can be best pals or if they should keep their distance.


Leave a Reply